How to Build a DIY Mini Patio (Front Yard) Pond for Freshwater Fish:
How to Build a Mini Outdoor Pond:
Materials:
- Timer Screws
- Treated Pine Timber
- Timber Stain
Step 1: Treated Pine Timber for Patio Pond Frame:
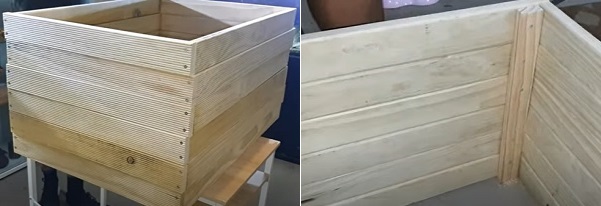
I have chosen treated pine timber for building the frame for my pond. Treated pine timber is permeated with a chemical solution, which offers a long-lasting resistance against decay, insects, & other damaging factors.
Step 2: Cut the Timber:
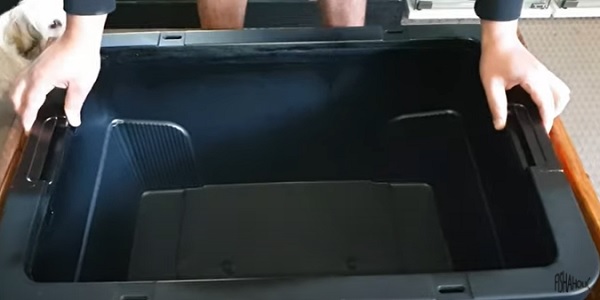
I am using a Treated Pine Timber frame for hiding a container that will hold water. The external frame looks attractive & gives strength to the pond. I have measured the dimensions of the container & have cut the timber accordingly.
Step 3: Fix the Frame Pieces Together:
Now it is time to join the frame pieces together & use screws for fixing them.
Step 4: Stain the Patio Pond Frame:
Stain a mini patio pond for exterior use. If you place wood outside then it will go through aging & wear from sunlight, & weather factors. Staining will offer a natural look to the wood.
Step 5: Top Corner Frame:
For the top corner frame, I have cut the timber at 45 Degree. It seems attractive & protects the patio pond. I have used black stain on the top corner because it matches the inside of the container. Apply stain on every side of the wood for more protection.
Step 6: Corner Frame:
I have cut the timer for the corner frame. I have applied black stain on the corner timber for beauty & protection.
Step 7: Leave Corner Lid for Bracing the Pond:
Cut the middle part of the container lid & leave the corners for bracing the pond. Use sandpaper for sanding the rough edges.
Step 8: Styrofoam for Raising the Pond:
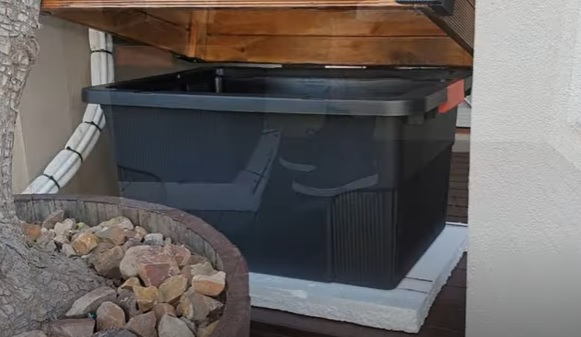
Styrofoam is applied for raising the pond container. It should be placed at the bottom inside the frame.
Step 9: Finishing of DIY Mini Patio Pond:
I have chosen black color stain for the frame corner support because it looks nice & matches the inside of the pond. External frame corner also supports the patio pond.
Step 10: Setup Mini Patio Pond:
I have setup my mini patio pond near the front door of my home. People entering my home can have a look at this beautiful outdoor pond.


Post a Comment